





Guide
Letter Formation
Teach letter formation with Jolly Phonics guidance for pencil grip, correct shapes, capitals and confident handwriting.
Letter Formation
Helping pupils develop fluent and accurate handwriting
What is Letter Formation?
Watch What is Letter Formation? on YouTube
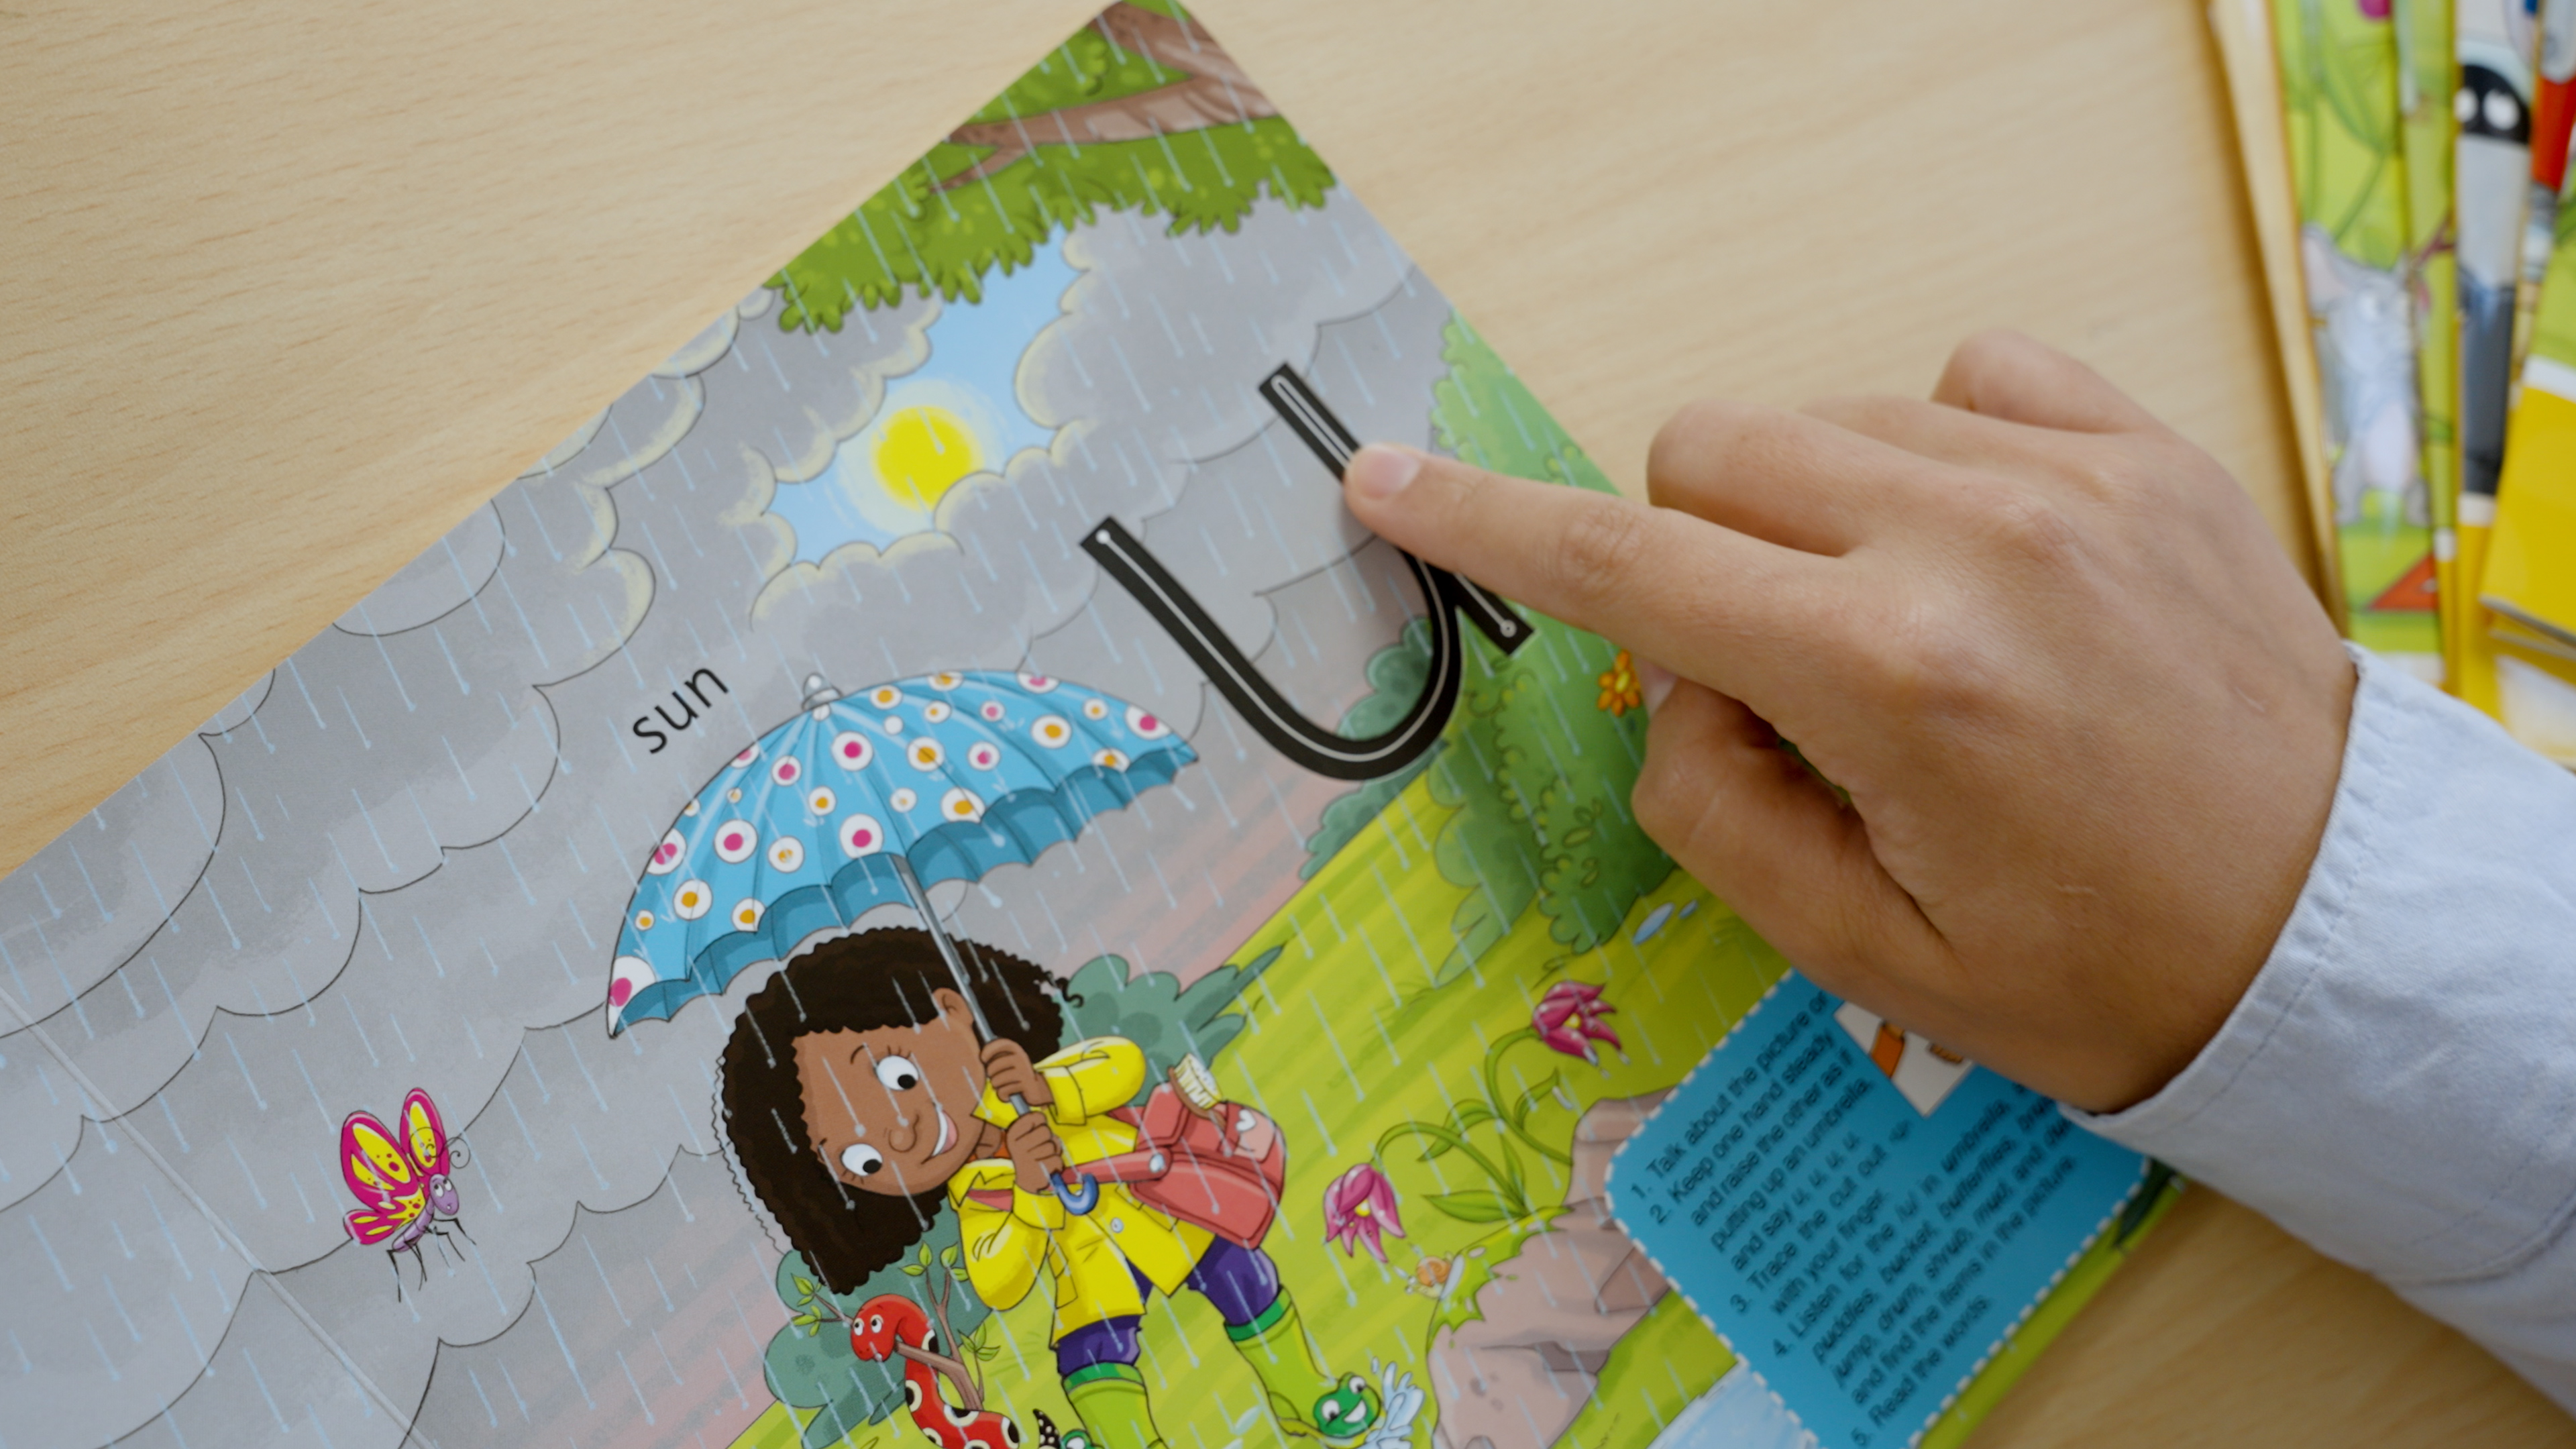
Letter Formation
Teaching pupils how to hold a pencil and form letters correctly from the start is essential. Jolly Phonics uses a multisensory approach that combines visual demonstration, movement and sound, making learning to write fun and effective.
Step 1
Emphasise a Correct Pencil Grip
- Teach the "froggy legs" grip: pencil between thumb and first finger; other fingers tucked underneath.
- Emphasise correct posture with hand resting on the table.

Step 2
How to Teach Letter Formation
- Demonstrate the letter(s) on the board. (Use the free resource to guide you with how to explain how to write each letter correctly).
- Form it in the air with the class using fingers.
- Pupils trace and write the letter in their pupil or handwriting books.
- Use Finger Phonics Books to feel the shape of letters.
Step 3
Common Letter Shapes
- The bodies of all the letters should be the same size and sit on the line.
- The tall letters ‹b›, ‹d›, ‹f›, ‹h›, ‹k›, ‹l› and ‹t› start above the middle line. Letter ‹t› is slightly shorter than the other tall letters.
- The letters ‹f›, ‹g›, ‹j›, ‹p›, ‹q› and ‹y› have tails that go down under the line.
- Most letters either start at or near the top and go down to the line or start with a caterpillar /c/, as in ‹c›, ‹a›, ‹d›, ‹o›, ‹g› and ‹q›. Before letter names are used, it helps to distinguish the letters ‹c› and ‹k› as caterpillar /c/ and kicking /k/.
- The exceptions are ‹e›, which starts halfway up the letter and goes towards the end of the page, and ‹z›, which starts by going towards the end of the page before coming across and down to the line.

Step 4
Spacing and Word Building
- Letters in words should be close but not touching.
- Leave spaces between words.
Step 5
Introducing Capital Letters (Step 2)
- Explain size, formation and that capitals never join.
- Colour-coded alphabet work supports recognition and order.
- The alphabet is introduced in four groups, each with a colour. Each group equates, roughly, to a quarter of the words in the dictionary. Knowing in which group a letter is helps to look up words in a dictionary.
Need extra support for struggling pupils?
Resources for Letter Formation
-
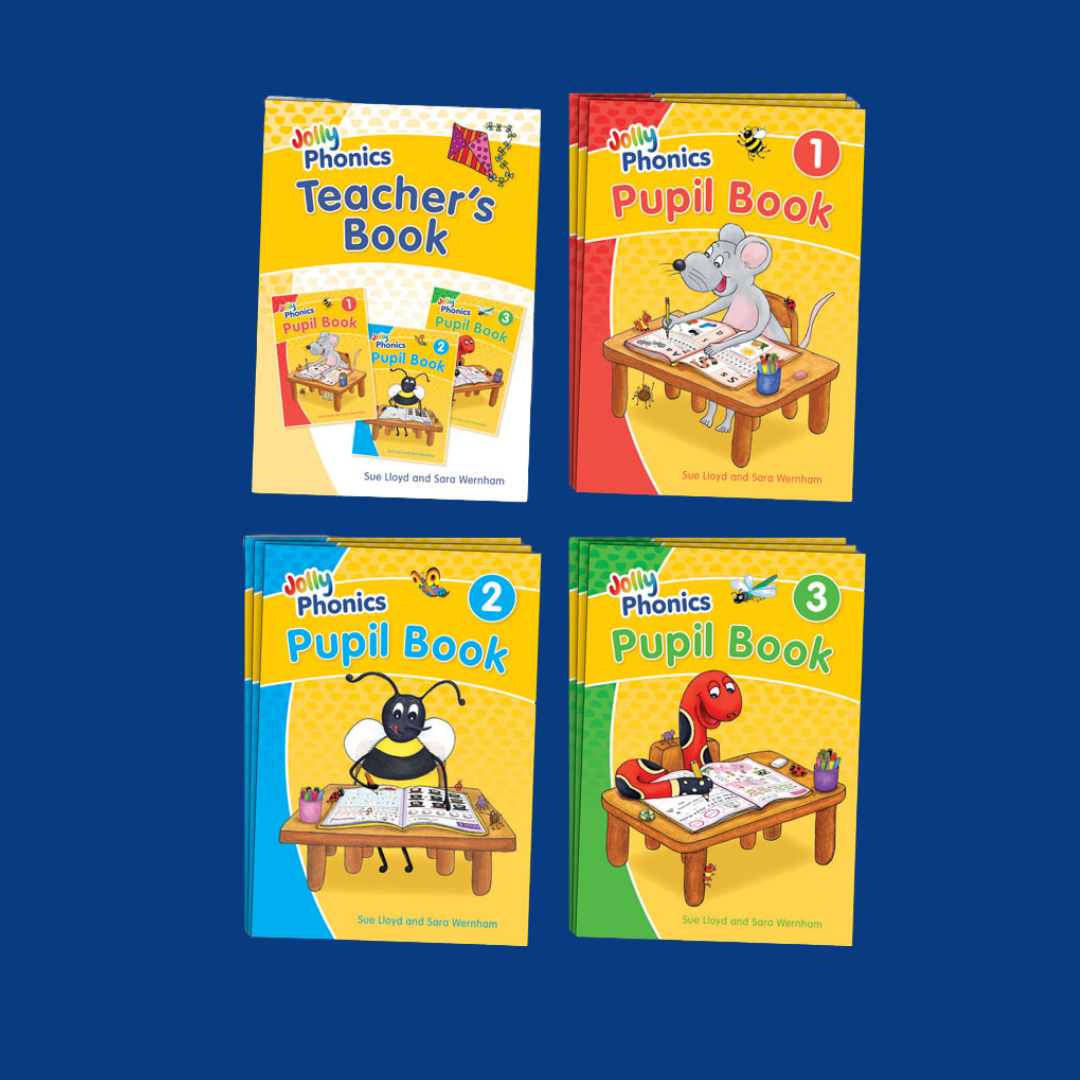
Jolly Phonics Pupil & Teacher's Books
Jolly Phonics Pupil & Teacher's BooksWrite-in pupil activities reinforce phonics teaching through reading, spelling and writing practice. The Teacher’s Book (sold separately) provides step-by-step lessons and guidance, ensuring structured consistent teaching. Together they create a complete resource for daily classroom use.
-
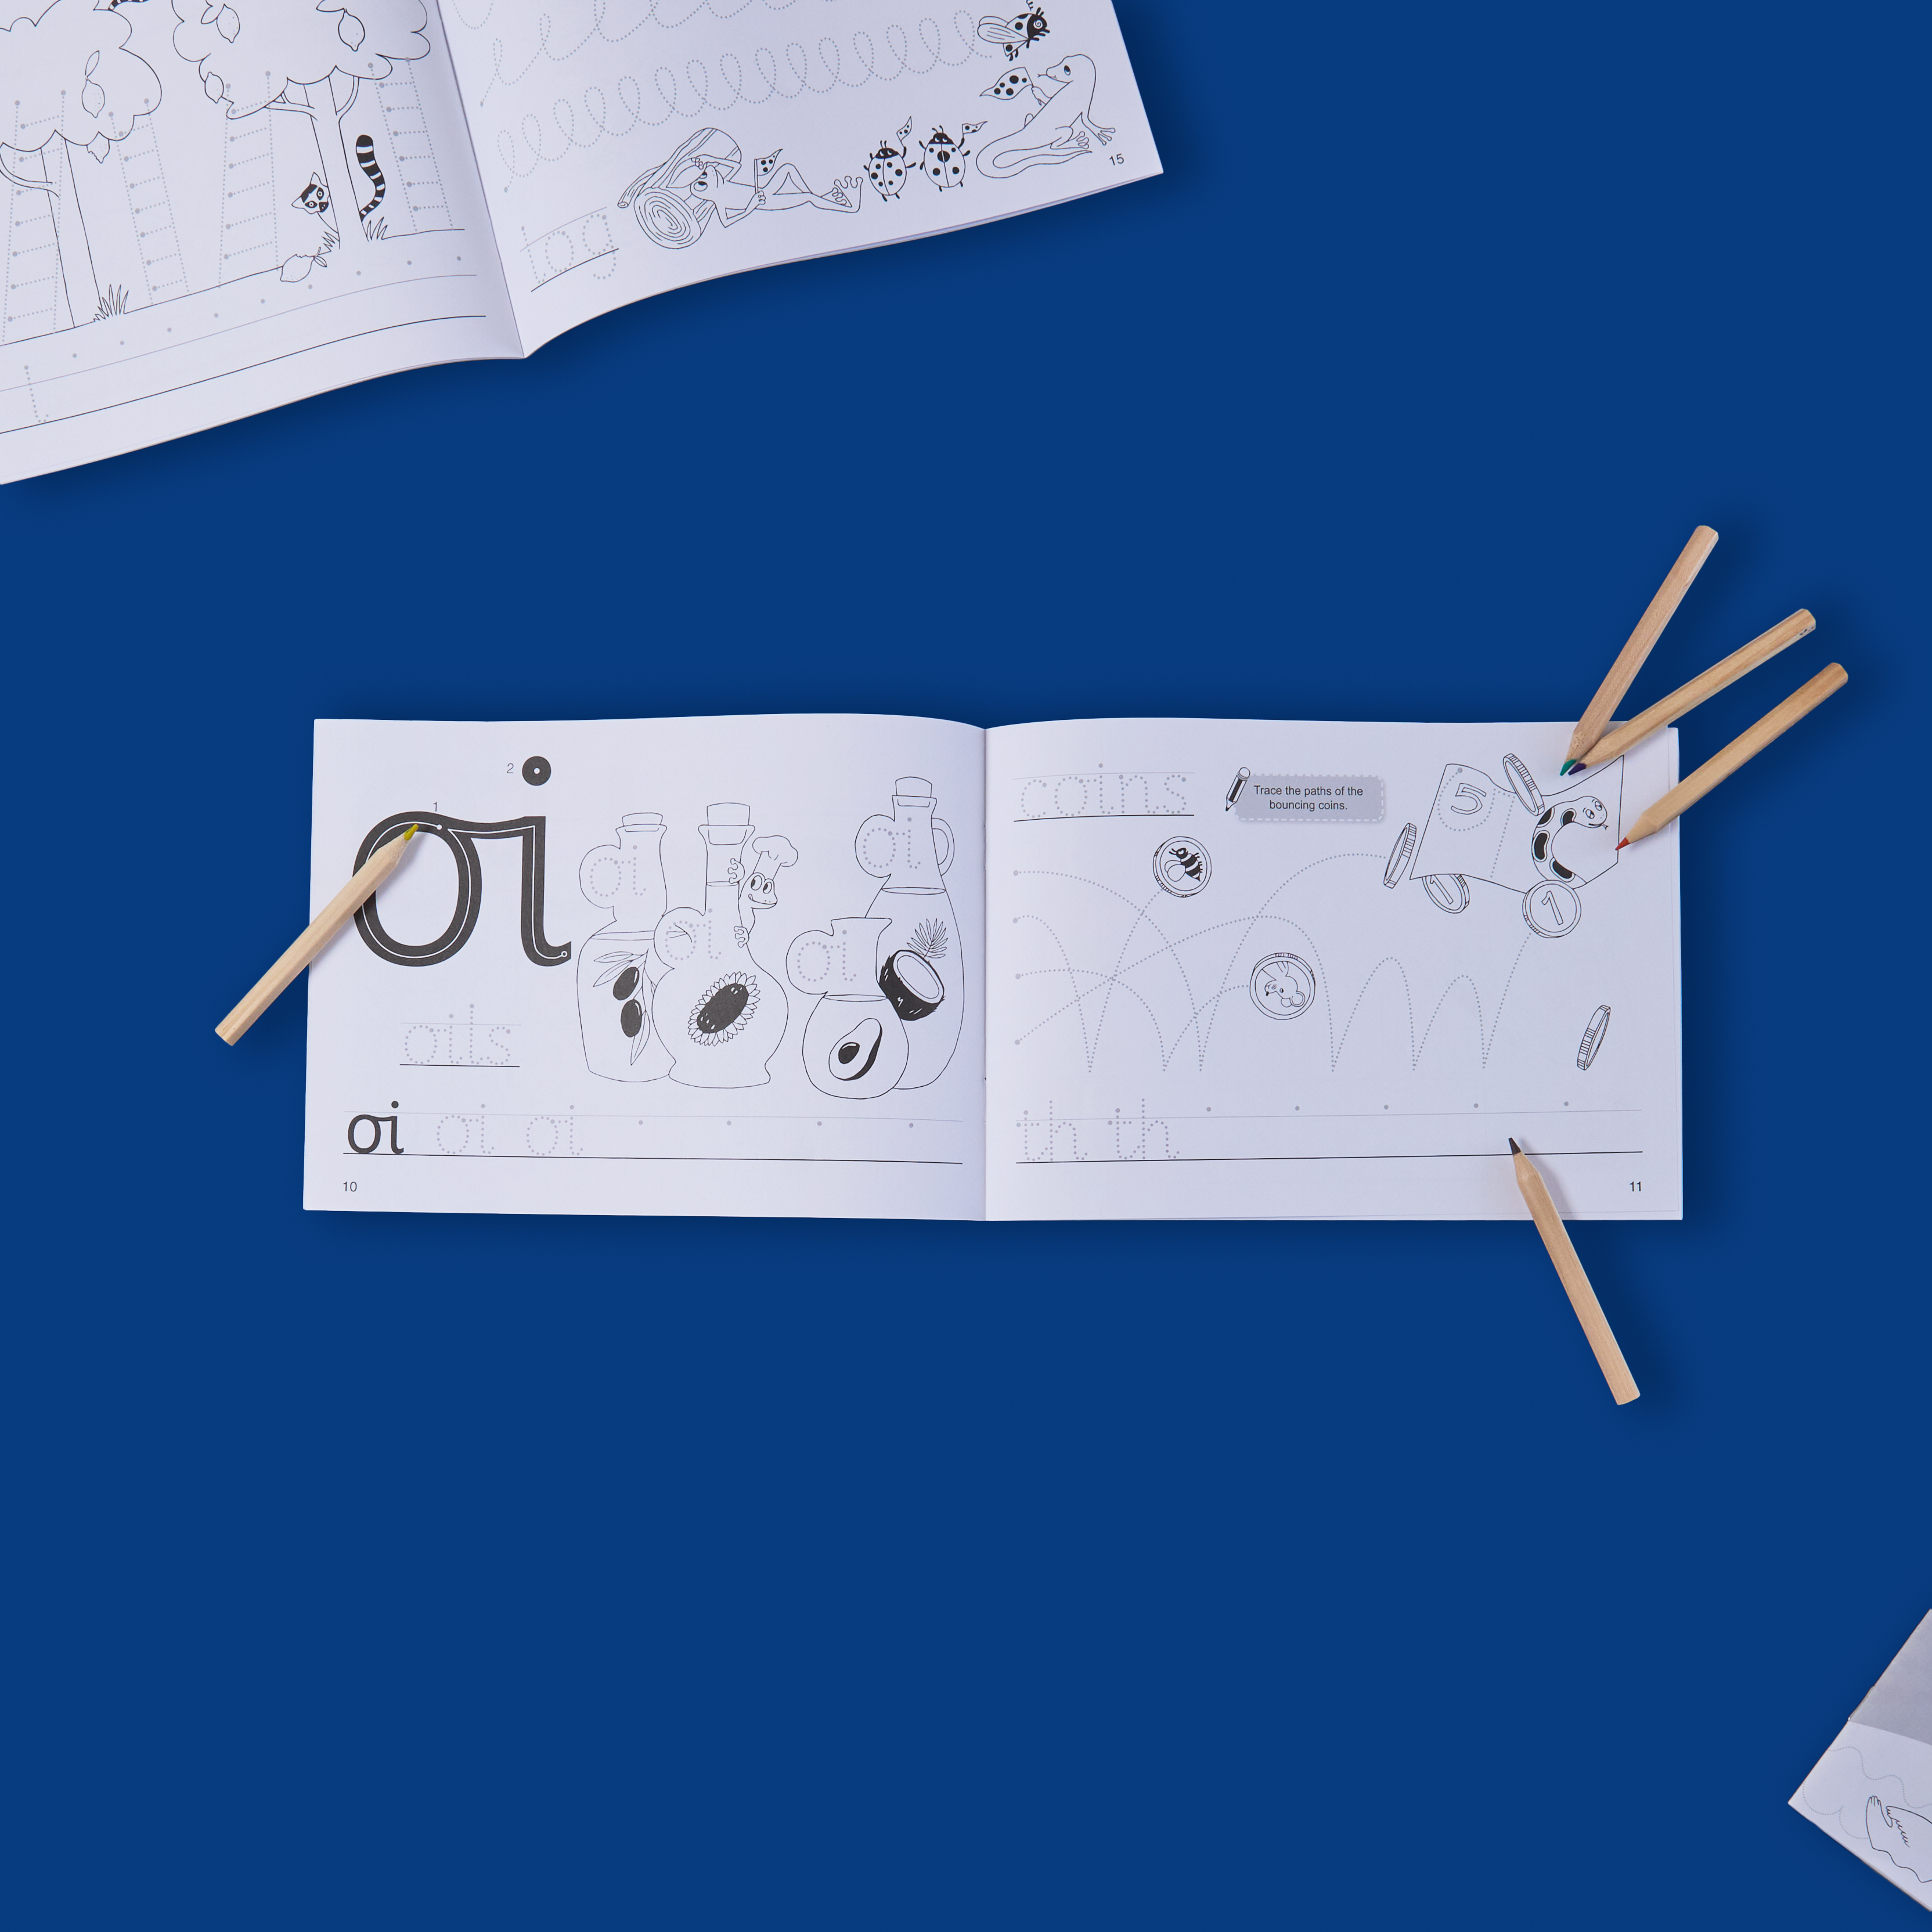
Jolly Phonics Handwriting Books
Jolly Phonics Handwriting BooksSeven books guiding children through letter formation in Jolly Phonics sound groups. With dotted letters, word writing and teacher or parent notes, they build fine motor skills, reinforce phonics knowledge and connect sounds to print in writing practice.
-
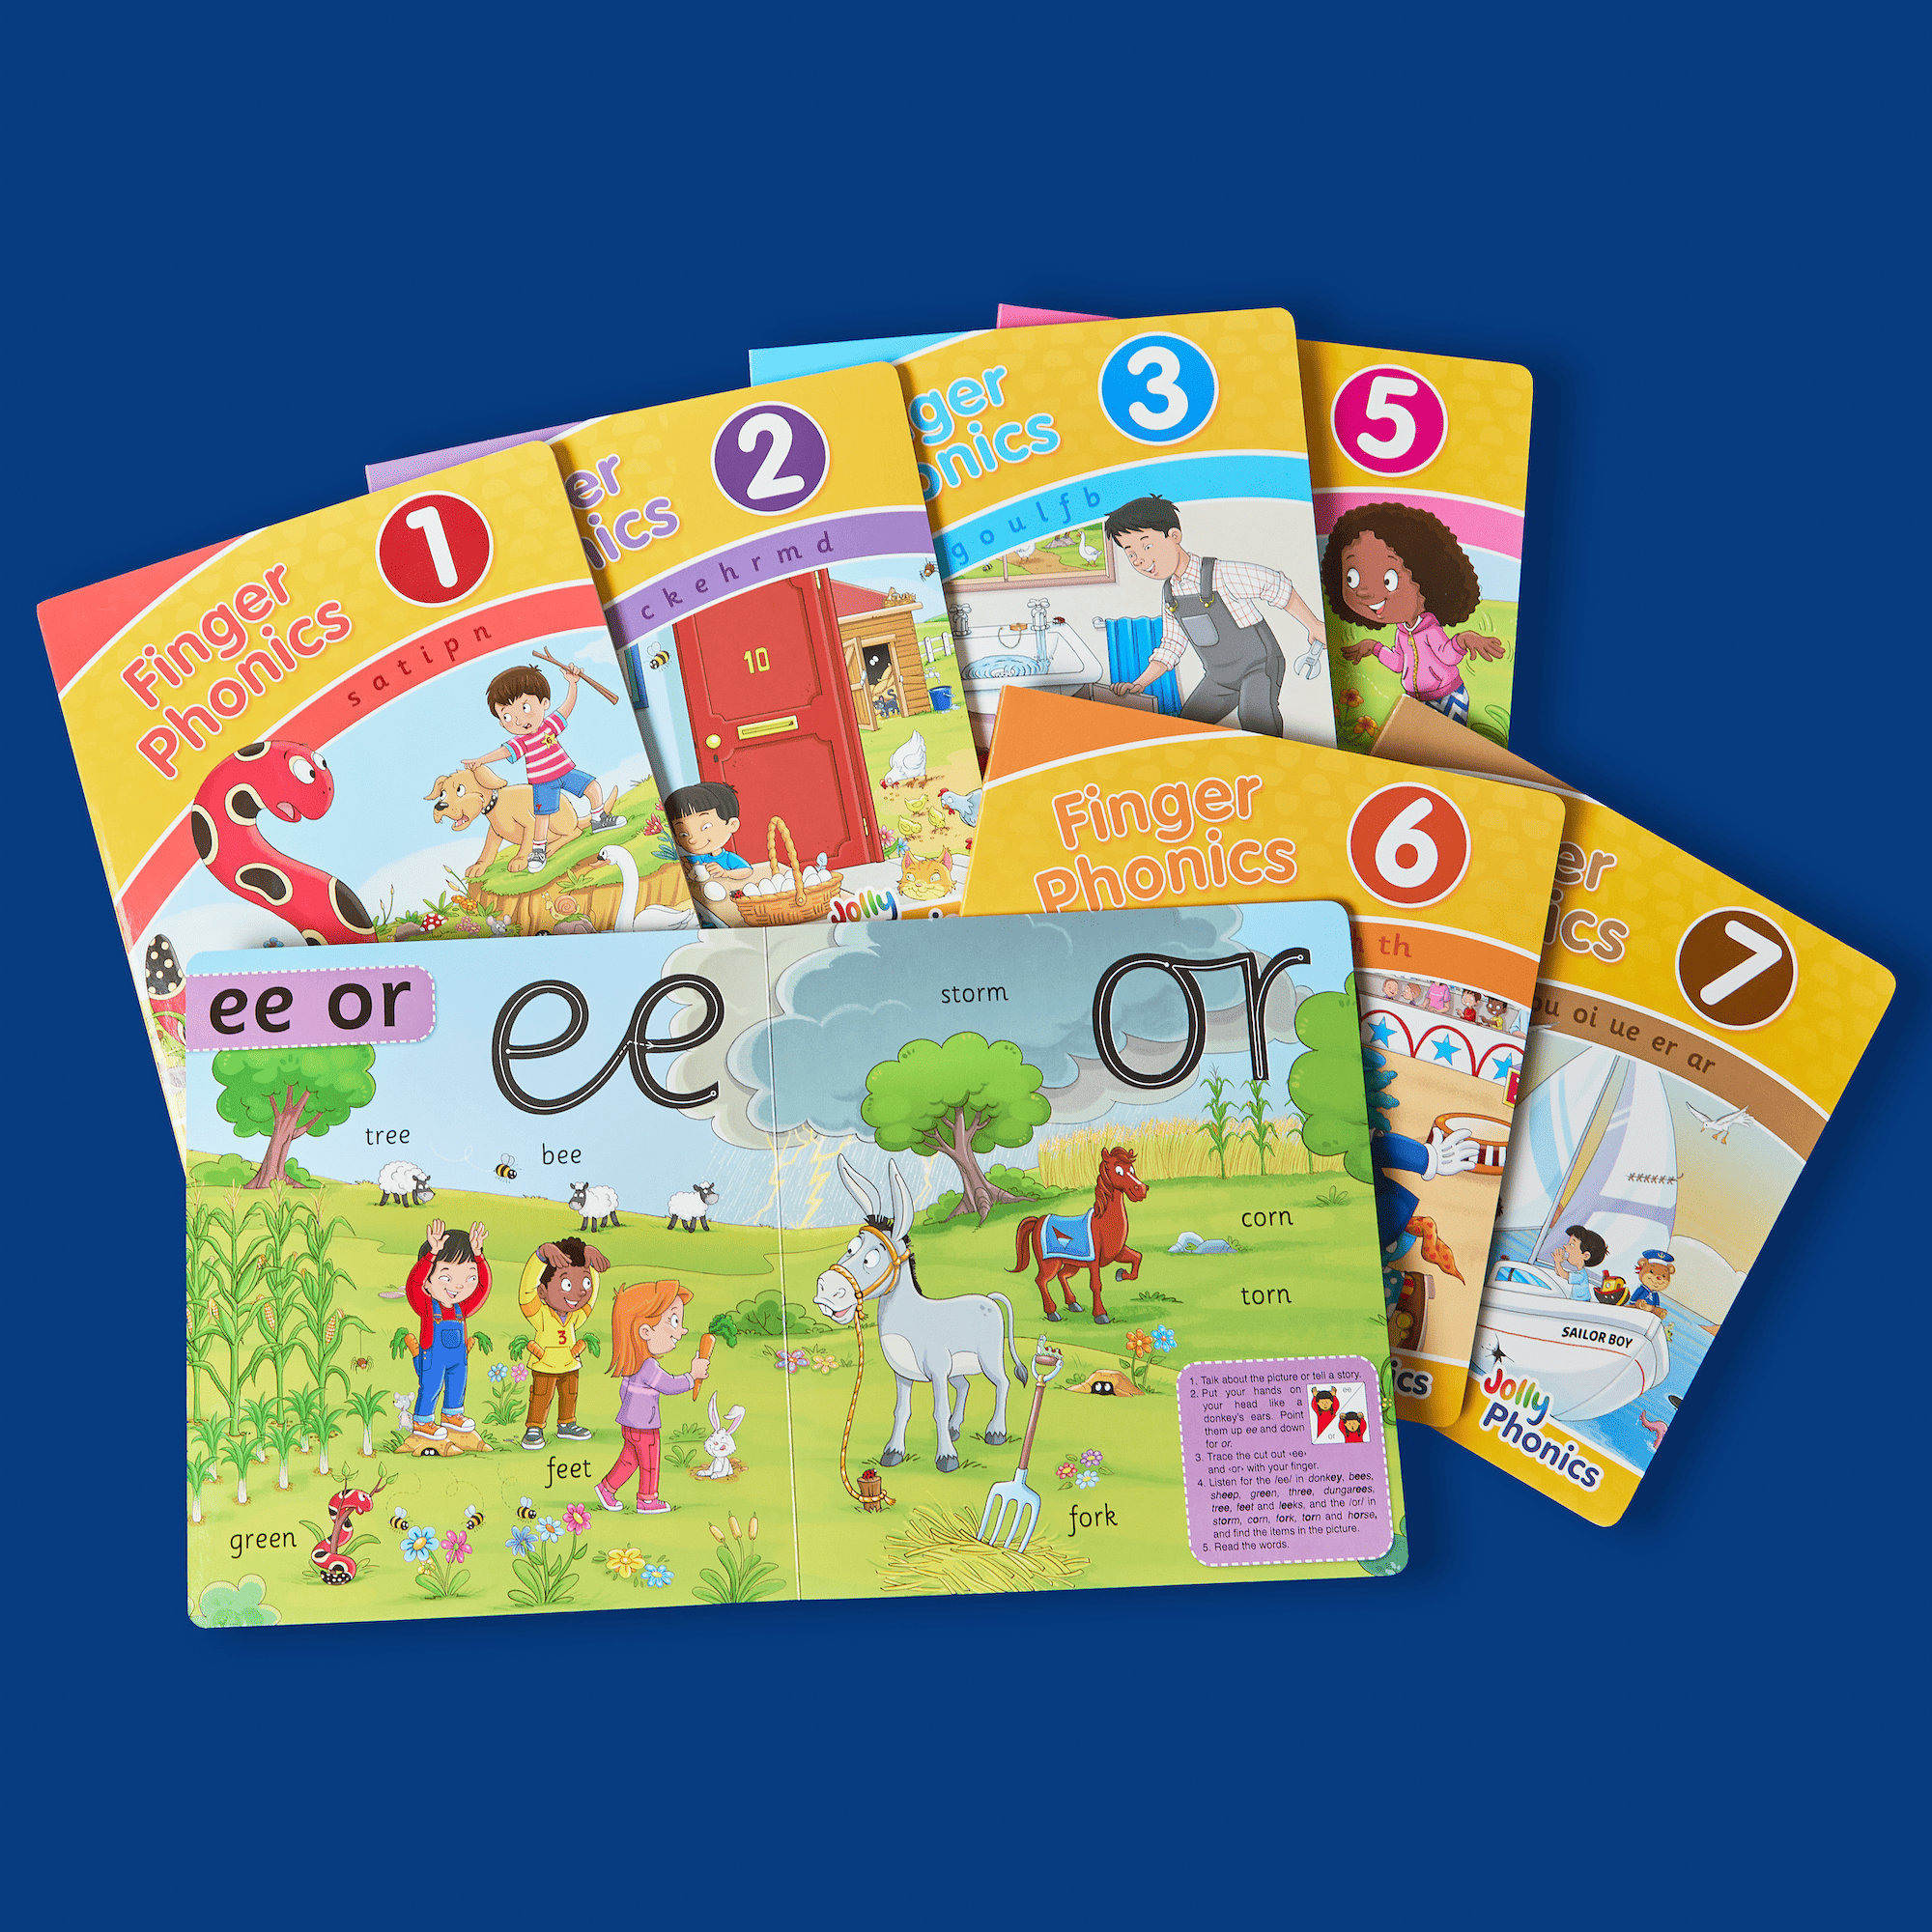
Finger Phonics Books
Finger Phonics BooksFinger Phonics books introduce each letter sound, complete with the corresponding action and a large cut-out letter to help little fingers feel the correct formation. Each book features colourful story illustrations filled with pictures of words that include the focus sound. These smaller pupil-sized versions allow pupils to use independently or in pairs to reinforce the lesson.
Ready to build confident writers?